New construction looks finished long before every detail is right. A new construction home can still have drainage problems, loose connections, missing seals, or rushed workmanship. That’s why a new construction home inspection checklist matters in Southwest Florida.
We recommend three inspection checkpoints, a focused Southwest Florida exterior review, and a written punch list before you sign off. The right schedule starts before the slab is poured.
Why a New Home Still Needs an Inspection
New Does Not Mean Defect-Free
A new home has many moving parts. Several trades may work on the property under a tight schedule, creating opportunities for construction errors when one missed detail affects another system later.
We commonly tell buyers to look beyond fresh paint and new fixtures. A home may have beautiful finishes while still having workmanship or system problems, such as an unsecured duct, an unsealed roof penetration, poor grading, or an electrical outlet that needs correction.
Southwest Florida adds its own concerns. Heavy rain quickly tests drainage. High heat puts pressure on HVAC systems. Humidity exposes moisture problems, while tropical weather places extra importance on roof connections, windows, doors, and garage doors.
A private inspection gives you a clear record before closing. It gives the builder time to correct problems while crews, materials, and equipment are still on site. The next section explains how phase inspections reveal work a final visit may not show.
Permit Approval Is Not a Buyer Inspection
Local building officials inspect permitted work at required stages. That process checks compliance with approved plans and applicable codes. It doesn’t replace a buyer-focused inspection that reviews workmanship, operation, finishes, drainage, and the condition of the completed home.
Florida’s building permit law is outlined in Florida Statutes section 553.79. Ask for the permit number, inspection history, and final approval records. A certificate of occupancy is important, but it isn’t proof that every item on your personal inspection list is complete.
New Construction Inspection Checklist by Phase
The best inspection plan follows the construction schedule. Each phase reveals different parts of the home. A final walkthrough can’t replace earlier reviews, making three phase inspections essential.
| Phase | Best Timing | Main Items Reviewed |
|---|---|---|
| Pre-pour | After foundation preparation, before concrete | Soil preparation, forms, rebar, under-slab plumbing, vapor barrier, sleeves, and elevations |
| Pre-drywall | After rough inspections, before insulation and drywall | Framing, trusses, wiring, plumbing, ductwork, blocking, penetrations, and structure |
| Final inspection | Before closing, with utilities operating | Finishes, fixtures, appliances, HVAC, electrical, plumbing, drainage, attic, and exterior details |
Reserve Inspection Dates Early
Construction schedules change quickly. We recommend identifying your independent inspector when you sign the purchase agreement, then asking the builder for written notice before each inspection stage.
A practical schedule looks like this:
- Reserve a pre-pour inspection after the site and foundation preparation are complete.
- Confirm that rough plumbing, electrical, HVAC, and required municipal inspections have passed before moving into the pre-drywall stage.
- Book the final walkthrough several days before closing, not the morning before you receive the keys.
- Schedule a reinspection after repairs, if the report identifies significant defects.
Coordinate those phase inspections with the builder before entering an active construction site. Get permission, wear proper footwear, stay clear of equipment, and let the inspector coordinate access.
Review the Plans Before Inspecting
A checklist is stronger when it matches the home you purchased. Keep the signed contract, floorplan, site plan, selections, change orders, appliance list, and included-feature sheet together.
Check how the builder defines square footage. Nathan’s Homes plans show why this matters. The Gulfstream Cottage lists 1,055 square feet of living area and 1,405 square feet of total area. The Magnolia lists 1,562 living square feet and 2,236 total square feet.
Duplex buyers need the same care. The Poseidon plan lists 2,102 square feet of combined living area and 2,134 square feet of combined total area for both sides. An inspection should cover both units, not one side because a listing uses one combined number.
Pre-Pour Inspection Checklist
The pre-pour inspection is the first chance to review components that concrete will soon hide. It is also the first of the phase inspections. The inspector can’t confirm every engineering or soil condition through a visual review, but this stage can identify missing, damaged, or misplaced work before it becomes inaccessible.
Review the Site and Foundation Preparation
Look for properly braced forms, accurate dimensions, required setbacks, slab edges, grade beams, reinforcement, and anchor locations. The checklist should also address:
- Compacted fill and visible signs of soft or disturbed soil.
- Rebar size, spacing, supports, overlaps, required concrete cover, and placement against the approved plans.
- Vapor barrier installation, continuous coverage, sealed joints, and areas that are torn or poorly sealed.
- Under-slab plumbing, cleanouts, sleeves, drains, utility penetrations, supports, and protective caps.
- Termite treatment records, where required or included.
- Plumbing stub-outs for kitchens, bathrooms, laundry areas, outdoor fixtures, and future equipment, including their locations and protection.
- Garage and house elevations, thresholds, planned transitions, and any required slab slopes.
If the lot requires special foundation or soil work, review the engineer’s documents and any required testing reports. A home inspector isn’t a substitute for a structural engineer or geotechnical professional.
Confirm Drainage Plans Before Concrete
Ask where stormwater will move after the house, driveway, landscaping, and walkways are complete. The lot should not direct concentrated water toward the foundation or an adjacent property.
Check the proposed finished-floor elevation against the site plan. In Southwest Florida, flood-zone status can affect elevation, foundation design, fill, drainage, and required documentation. Keep photographs of the open foundation and all under-slab work in your project file.
Pre-Drywall Inspection Checklist
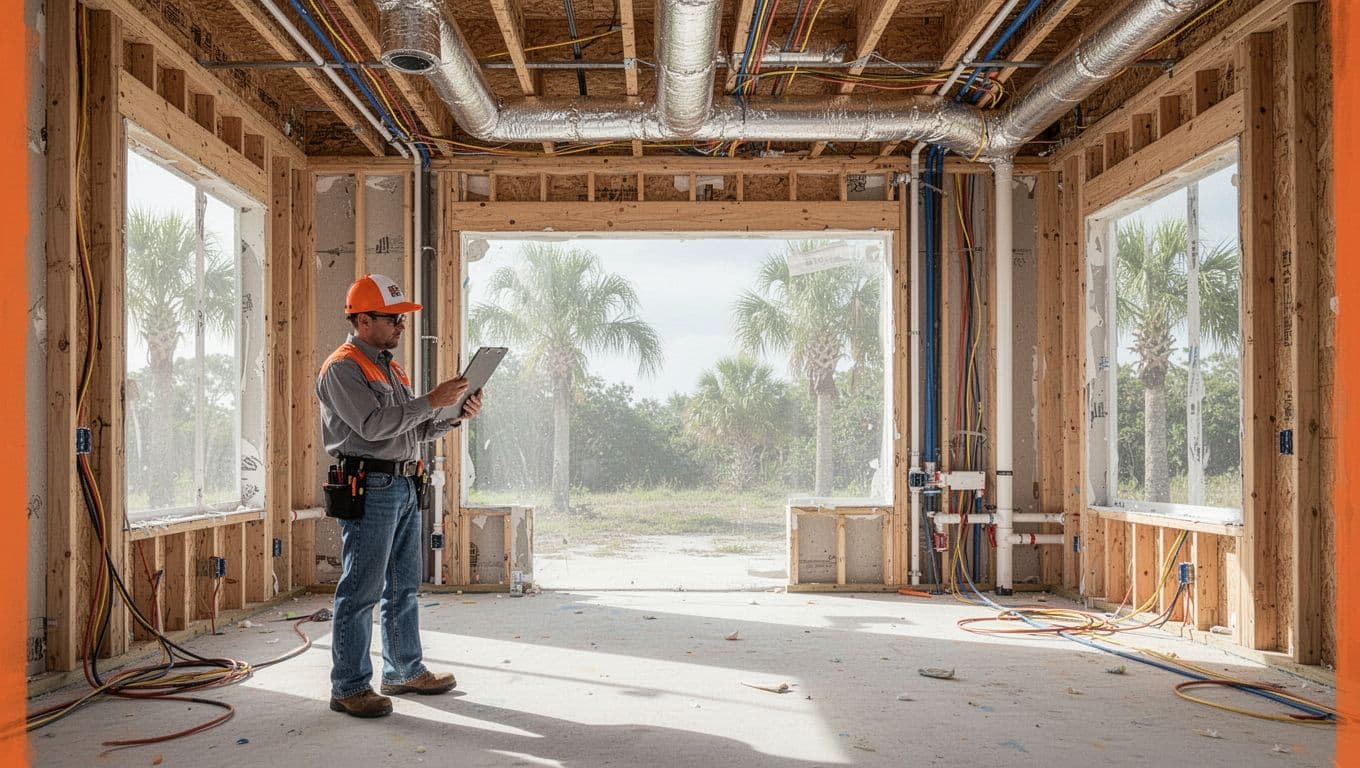
The pre-drywall inspection often provides the highest value because the home’s hidden systems are still visible. As one of the key phase inspections, schedule it after the rough work is complete and before insulation or drywall covers the framing.
Check Framing and Structural Integrity
The inspection should review straight walls, framing connections, roof trusses, openings, corners, bearing points, and visible structural components. Look for:
- Missing or loose connectors, straps, clips, bolts, or required fasteners.
- Inadequate blocking behind cabinets, handrails, grab bars, mirrors, and wall-mounted fixtures.
- Unprotected holes through framing that need nail plates.
- Cut or altered framing that doesn’t match the approved plans.
- Gaps around windows and doors that may signal poor window installation.
- Improperly supported pipes, ducts, and wiring.
- Roof framing, truss damage, and attic penetrations that need correction.
In a Florida home, framing details also matter for wind performance. Ask which roof-to-wall connections, garage door features, window ratings, and opening protections are included. These details may affect insurance documentation later.
Review Electrical Systems, Plumbing, and HVAC Rough-Ins
Every rough-in should be compared with the plans and selections. Confirm that outlets, switches, lights, ceiling fans, data points, hose bibs, plumbing fixtures, and equipment locations are where you expect them.
The electrical review should include visible wiring, junction boxes, panel location, grounding, protection at penetrations, and provisions for required GFCI and AFCI protection. The plumbing review should cover supply lines, drain and waste piping, shutoffs, supports, cleanouts, and the location of water heater connections.
For HVAC systems, check duct support, insulation, connections, return-air paths, equipment placement, refrigerant lines, and condensate drainage. A poorly planned condensate line can create water damage after the system begins operating.
Take clear photographs before the walls close. Mark every concern by room and wall location. Once drywall is installed, proof becomes harder to collect and repairs become more disruptive.
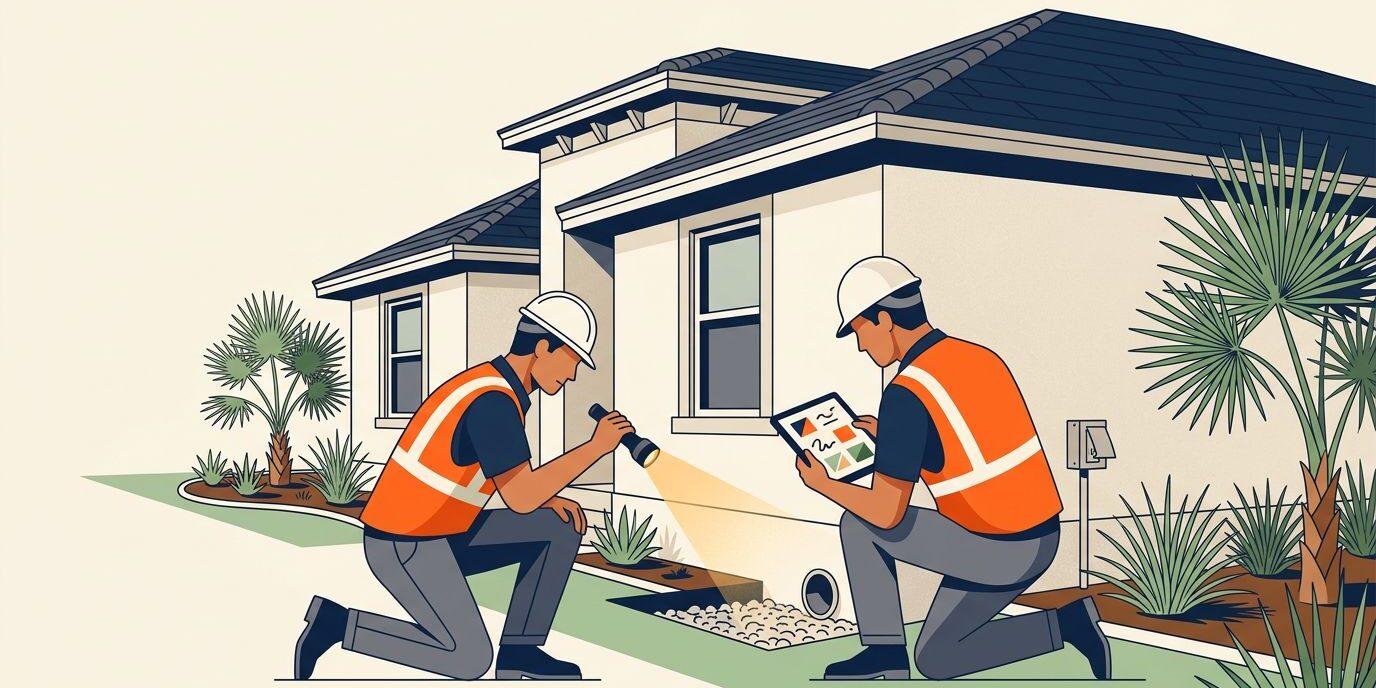
Southwest Florida Exterior Checks
Review Drainage and Grading, Flood Zones, and Finished Elevation
Stand outside after rain when possible. Water should move away from the foundation through planned swales, slopes, drains, or other approved systems. Check for low spots near slab edges, garages, pool areas, walkways, air-conditioning pads, and utility equipment.
Look for standing water, soil piled against stucco, mulch touching the wall, and gutters and downspouts that discharge beside the home. Landscaping can hide grading problems, so inspect the lot before final planting and irrigation work.
Ask for the site plan showing the flood zone, FEMA Base Flood Elevation, and proposed finished-floor elevation. In Lee County, development in a regulatory floodway may require an engineer-signed No-Rise or No-Impact certification. Collier County permit materials also address flood-zone information, finished-floor elevation, and stormwater planning.
The Florida Building Code flood provisions provide useful background, but county requirements can vary. Confirm the specific parcel with the local building or floodplain office.
A home can pass a dry-weather walkthrough and still have a drainage problem. The first heavy rain is often the most useful test of the finished site.
Inspect Roof Components, Openings, and Moisture Protection
Review visible roof components, including shingles, tile, metal panels, flashing, valleys, vents, penetrations, drip edges, soffits, fascia, and sealants. Look for lifted materials, exposed fasteners, gaps, damaged flashing, and areas where water could enter.
Test every exterior door and window. Check locks, screens, weather seals, operation, caulking, and visible damage. If impact-rated products are part of the contract, collect window installation labels, approvals, and installation records.
Inspect stucco for cracks, open joints, incomplete sealant, and penetrations around lights, hose bibs, vents, and electrical equipment. Check exterior outlets, covers, light fixtures, irrigation controls, hose connections, garage doors, and attic ventilation.
A home inspection isn’t the same as a wind-mitigation inspection. If insurance credits matter, ask your insurer what separate inspection or documentation it needs.
Final Walkthrough Checklist
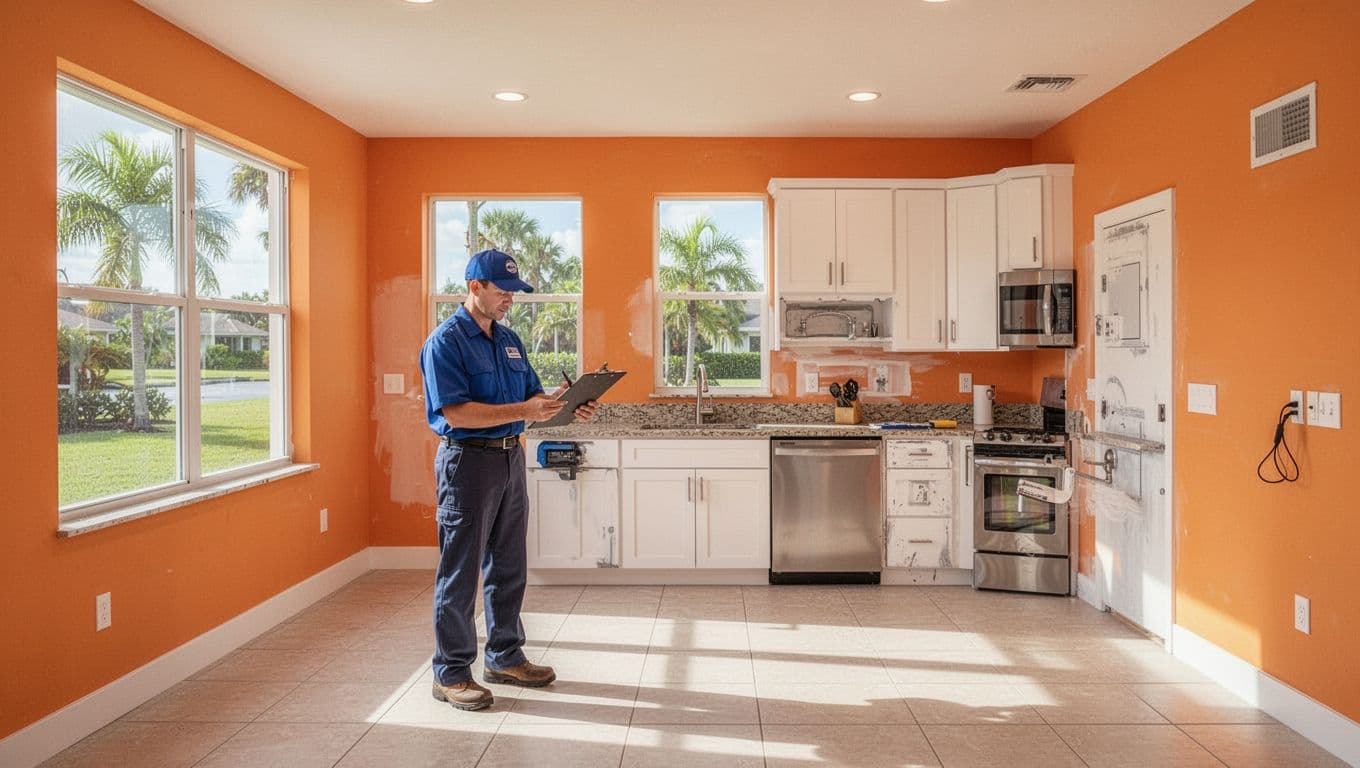
The final inspection should happen when the home is substantially complete and utilities are on. It is one step in a series of phase inspections, so don’t treat the builder’s orientation as the only final review.
Check Every Room and Finish
Walk through the home slowly, using the contract and selections as your guide. Check that the number, location, color, and model of included items match what you purchased.
Review walls and ceilings for cracks, nail pops, stains, uneven surfaces, incomplete paint, and damaged drywall. Inspect ceramic flooring, grout, transitions, baseboards, trim, doors, screens, windows, cabinets, countertops, backsplashes, and hardware.
Open and close every cabinet and drawer. Test door latches and locks. Look behind appliances where accessible, but don’t move heavy equipment without permission.
The kitchen review should include appliance operation, countertop seams, sink connections, garbage disposal, cabinet alignment, outlets, lighting, and ventilation. In bathrooms, run each fixture, test drains, inspect caulking and grout, and look inside vanities for leaks.
Test Electrical Systems, Plumbing, and HVAC Systems
Use the final walkthrough checklist room by room so nothing gets skipped. The inspector should operate accessible systems and document concerns such as:
- Electrical outlets, switches, light fixtures, ceiling fans, smoke detectors, carbon monoxide alarms, and panel labeling.
- GFCI protection in wet areas, garages, kitchens, laundry spaces, exterior outlets, and other required locations.
- Hot and cold water at every plumbing fixture, adequate drainage, toilet operation, shutoff valves, water heater connections, and visible leaks.
- HVAC thermostat operation, supply and return airflow, temperature response, condensate drainage, filter access, insulation, and equipment condition.
- Range, oven, dishwasher, refrigerator, microwave, laundry equipment, exhaust fans, and other included appliances.
- Garage door operation, safety reversal, fire separation details, lighting, outlets, and weather seals.
An inspector reports visible conditions and operating performance at the time of inspection. No inspection can predict every future repair or replace specialized testing by a pool, septic, well, irrigation, or structural professional.
Confirm the Handover Package
Before closing, collect the certificate of occupancy, final permit approvals, inspection records, manuals, warranties, equipment serial numbers, appliance information, paint colors, keys, remotes, access codes, and maintenance instructions.
Ask for roof documents, window and door information, truss or engineering documents, elevation certificates, and flood-related records when they apply. Keep everything in one digital folder and one physical file.
If you have questions about the purchased plan, included features, or the construction schedule, ask Nathan’s Homes about your new construction home. Clear answers are easier to get before closing than after a document has been signed.
Common Defects and Builder Disagreements
Issues Found During New Home Inspections
The most common problems aren’t always dramatic. Minor omissions and construction errors can still lead to costly repairs if they stay hidden or allow water into the home.
Watch for missing roof flashing, open exterior penetrations, poor grading, incomplete caulking, damaged stucco, unsealed attic openings, insufficient insulation, disconnected ducts, unsecured plumbing, and condensate lines that drain into the wrong area.
Electrical concerns may include missing covers, reversed polarity, unprotected wiring, poor panel labeling, and outlets without required protection. Plumbing issues often include slow drains, loose connections, leaks under sinks, missing shutoffs, and fixtures that don’t match the selections.
Finish problems matter too. Misaligned cabinets, cracked tiles, sticking doors, damaged screens, incomplete paint, uneven transitions, and foundation cracks should be documented before final sign-off, then evaluated based on their location and appearance.
Turn Findings Into a Written Punch List
A good report separates structural defects, safety hazards, water risks, system defects, code questions, and cosmetic corrections. For each of the punch list items, record the room, location, photograph, requested correction, responsible trade, and target completion date.
Send the report to the builder and ask for a written response. If the builder disagrees, request the exact plan, specification, or code section supporting that position. This keeps the conversation clear and prevents a verbal promise from disappearing later.
If access to a pre-drywall inspection is denied, ask for the policy in writing and raise the issue with your real estate agent and closing attorney. Your contract controls many inspection and closing rights, so don’t assume a general checklist gives you a legal remedy.
Don’t sign a document stating that all defects are corrected when known items remain open. A reinspection is a reasonable way to confirm that repairs were completed without creating new damage.
Builder Warranty and Closeout Documents
Read the Actual Coverage Terms
Warranty periods aren’t identical across builders or contracts. Your builder warranty may separate workmanship, equipment, systems, and structural coverage, including structural defects, with different exclusions and claim deadlines.
Florida Statute 553.837 has required a one-year warranty for newly constructed homes since July 1, 2025. The statute addresses construction defects involving equipment, materials, or workmanship furnished by the builder or its subcontractors. Review the current Florida new-home warranty statute with your contract.
Don’t assume a commonly quoted one-year workmanship, two-year systems, or 10-year structural schedule applies automatically. Those terms may come from a particular builder warranty or third-party program. Your written documents control the available coverage, start date, exclusions, transfer rules, and claim process.
Keep a Warranty File
Your file should include the signed warranty, claim instructions, builder contacts, dates of service, inspection report, photographs, receipts, and every repair response.
Submit warranty claims in writing and keep copies. Describe the defect clearly, explain when it appeared, and include photographs. If a leak, water damage, or safety issue is involved, report it promptly rather than waiting for a scheduled annual visit.
The inspection report doesn’t replace the warranty. It gives you a dated record of conditions before ownership and helps separate pre-existing construction concerns from later maintenance issues.
Choosing an Independent Home Inspector
Look for New Construction Experience
Choose an inspector who regularly performs phase inspections, not only occupied-home inspections. Ask whether they review pre-pour, pre-drywall, and final stages, and whether reinspection is available.
Florida home inspectors must meet state licensing requirements. You can review Florida home inspector licensing information through the Department of Business and Professional Regulation. Ask the home inspector for a license number, insurance information, sample report, inspection agreement, and references.
The right inspector should explain what is included, what requires a specialist, and what can’t be seen without destructive testing. We prefer inspectors who use clear photographs, room-by-room findings, and practical repair descriptions.
Set the Scope Before the Visit
Confirm the inspection covers the complete property. For a duplex, that means both units, shared areas, garages, roof areas, mechanical systems, electrical equipment, plumbing, fire separation, and available exterior spaces.
Ask whether the inspector will review attic insulation, roof components, drainage, windows, doors, appliances, and HVAC operation. Confirm accessible safety features, including alarms and protection devices. If the property includes a pool, seawall, private well, septic system, dock, or irrigation system, arrange qualified specialists for those items.
A third party inspector isn’t an accusation against the builder. It is a clear quality check for the buyer. Good builders should have a process for receiving findings, correcting legitimate defects, and completing the home to the agreed plans.
A Printable Master Checklist
Save this home inspection checklist with your purchase documents:
- Confirm the contract, floorplan, selections, square footage definition, and included features.
- Review the site plan, flood zone, finished-floor elevation, permits, and drainage plan.
- Schedule pre-pour, pre-drywall, final, and repair inspections.
- Photograph the foundation, under-slab work, framing, rough-ins, roof, grading, and finished rooms.
- Check rebar, forms, vapor barrier, sleeves, plumbing, elevations, and foundation preparation before concrete.
- Check framing, blocking, trusses, connectors, wiring, plumbing, ductwork, and penetrations before drywall.
- Test drainage, windows, doors, roof components, stucco, exterior outlets, garage doors, and HVAC equipment.
- Test every fixture, appliance, outlet, alarm, switch, drain, cabinet, door, and window at the final inspection.
- Collect final permits, occupancy approval, manuals, serial numbers, warranties, keys, remotes, and certificates.
- Send every unresolved issue to the builder in writing and schedule a reinspection before closing.
Frequently Asked Questions
Do I need an inspection for a new construction home?
Yes. New construction can still have drainage problems, loose connections, missing seals, and rushed workmanship that may not be visible during a builder walkthrough. An independent inspection gives you a written record before closing and allows time for corrections.
When should a new construction home be inspected?
The best schedule includes pre-pour, pre-drywall, and final inspections. Each phase reveals different components, and a final walkthrough can’t replace inspections performed before concrete, insulation, or drywall covers important work.
What should I check before drywall is installed?
Review framing, trusses, connectors, blocking, wiring, plumbing, ductwork, penetrations, and visible structural components. Take clear photographs and mark concerns by room and wall location while the hidden systems are still accessible.
What Southwest Florida issues deserve special attention?
Focus on drainage, grading, finished-floor elevation, flood-zone information, roof connections, openings, stucco, and moisture protection. Heavy rain, humidity, high heat, and tropical weather can quickly expose problems that may not appear during a dry-weather walkthrough.
What should I do if the inspection finds defects?
Send the builder a written punch list that identifies each issue by location, photograph, requested correction, responsible trade, and target completion date. Ask for a written response and schedule a reinspection before closing if significant repairs remain open.
Conclusion
A new home should feel exciting, not uncertain. The best protection comes from a clear inspection schedule that examines hidden work before it is covered, tests finished systems before closing, and records every correction.
Southwest Florida buyers should also review drainage, flood-zone information, finished elevation, roof details, and moisture protection. When the plans, workmanship, permits, and warranty documents align, you can move forward with greater confidence in the home you’re buying.