
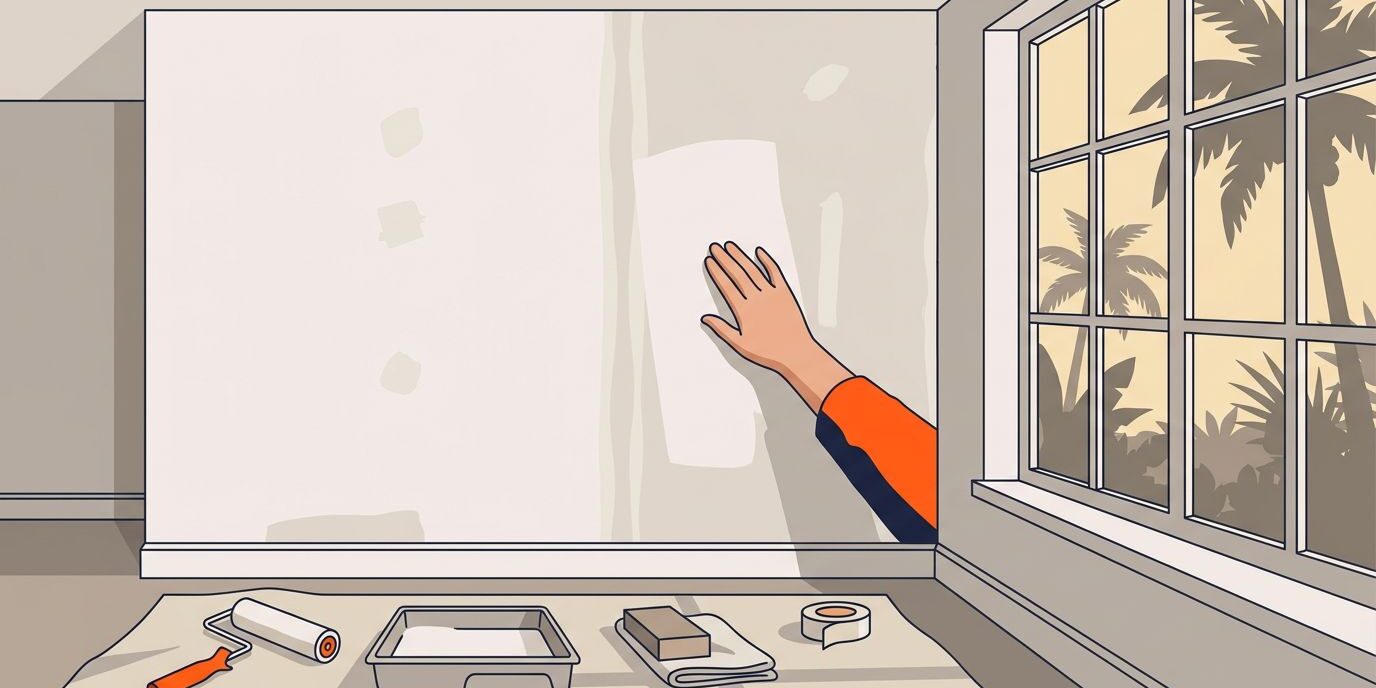
After drywall installation, the next steps are finishing repairs, clearing fine dust left by finishing work, checking the surface, and applying primer before interior paint. In Florida, moisture control also matters because humid conditions can delay drying.
We recommend treating this stage as a preparation checkpoint, not a race to get color on the walls. Clean, dry surfaces help prevent peeling, visible patches, and uneven sheen.
Start with the room’s condition, then work through cleanup and preparation in order.
Key Takeaways
- Finish and dry the joint compound before cleaning or coating the walls.
- Let airborne dust settle, remove loose residue dry, then wipe lightly with a barely damp cloth or sponge.
- Inspect and repair the surface before the first coat, and address leaks or persistent dampness before covering them.
1. Confirm the Drywall and Room Are Ready
Hanging gypsum board doesn’t make the surface paint-ready. Crews still need to tape joints, cover fasteners, apply finishing coats, and smooth the surface. Any specified wall texture also belongs in the preparation schedule.
Allow Joint Compound to Dry Thoroughly
Ready-mixed joint compound dries as moisture evaporates. Thick applications, cooler rooms, and high humidity extend that process.
USG gives approximately 24 hours at 70°F and 70% relative humidity as one drying example. That isn’t a universal deadline. Also, setting-type compound can harden before its remaining moisture has evaporated.
USG’s drywall finishing handbook explains how temperature, humidity, and application thickness affect drying. Don’t sand or prime compound that remains soft or damp.
Control Florida Humidity Before Coating
We recommend a separate digital humidity monitor when the thermostat doesn’t display humidity. Keep indoor relative humidity below 60%, ideally around 30% to 50% where practical.
During construction, temporary dehumidification may be necessary before permanent cooling is ready. However, don’t use the home’s HVAC system to collect construction dust.
Stained drywall, damp window sills, or musty odors call for attention to the moisture source. Paint won’t correct a roof leak, poor drainage, or condensation.
2. Let Drywall Dust Settle Before Cleanup
The finishing process produces extremely fine particles that travel beyond the immediate work area. They settle on walls and ceilings, as well as in neighboring rooms, on trim ledges, and near air returns.
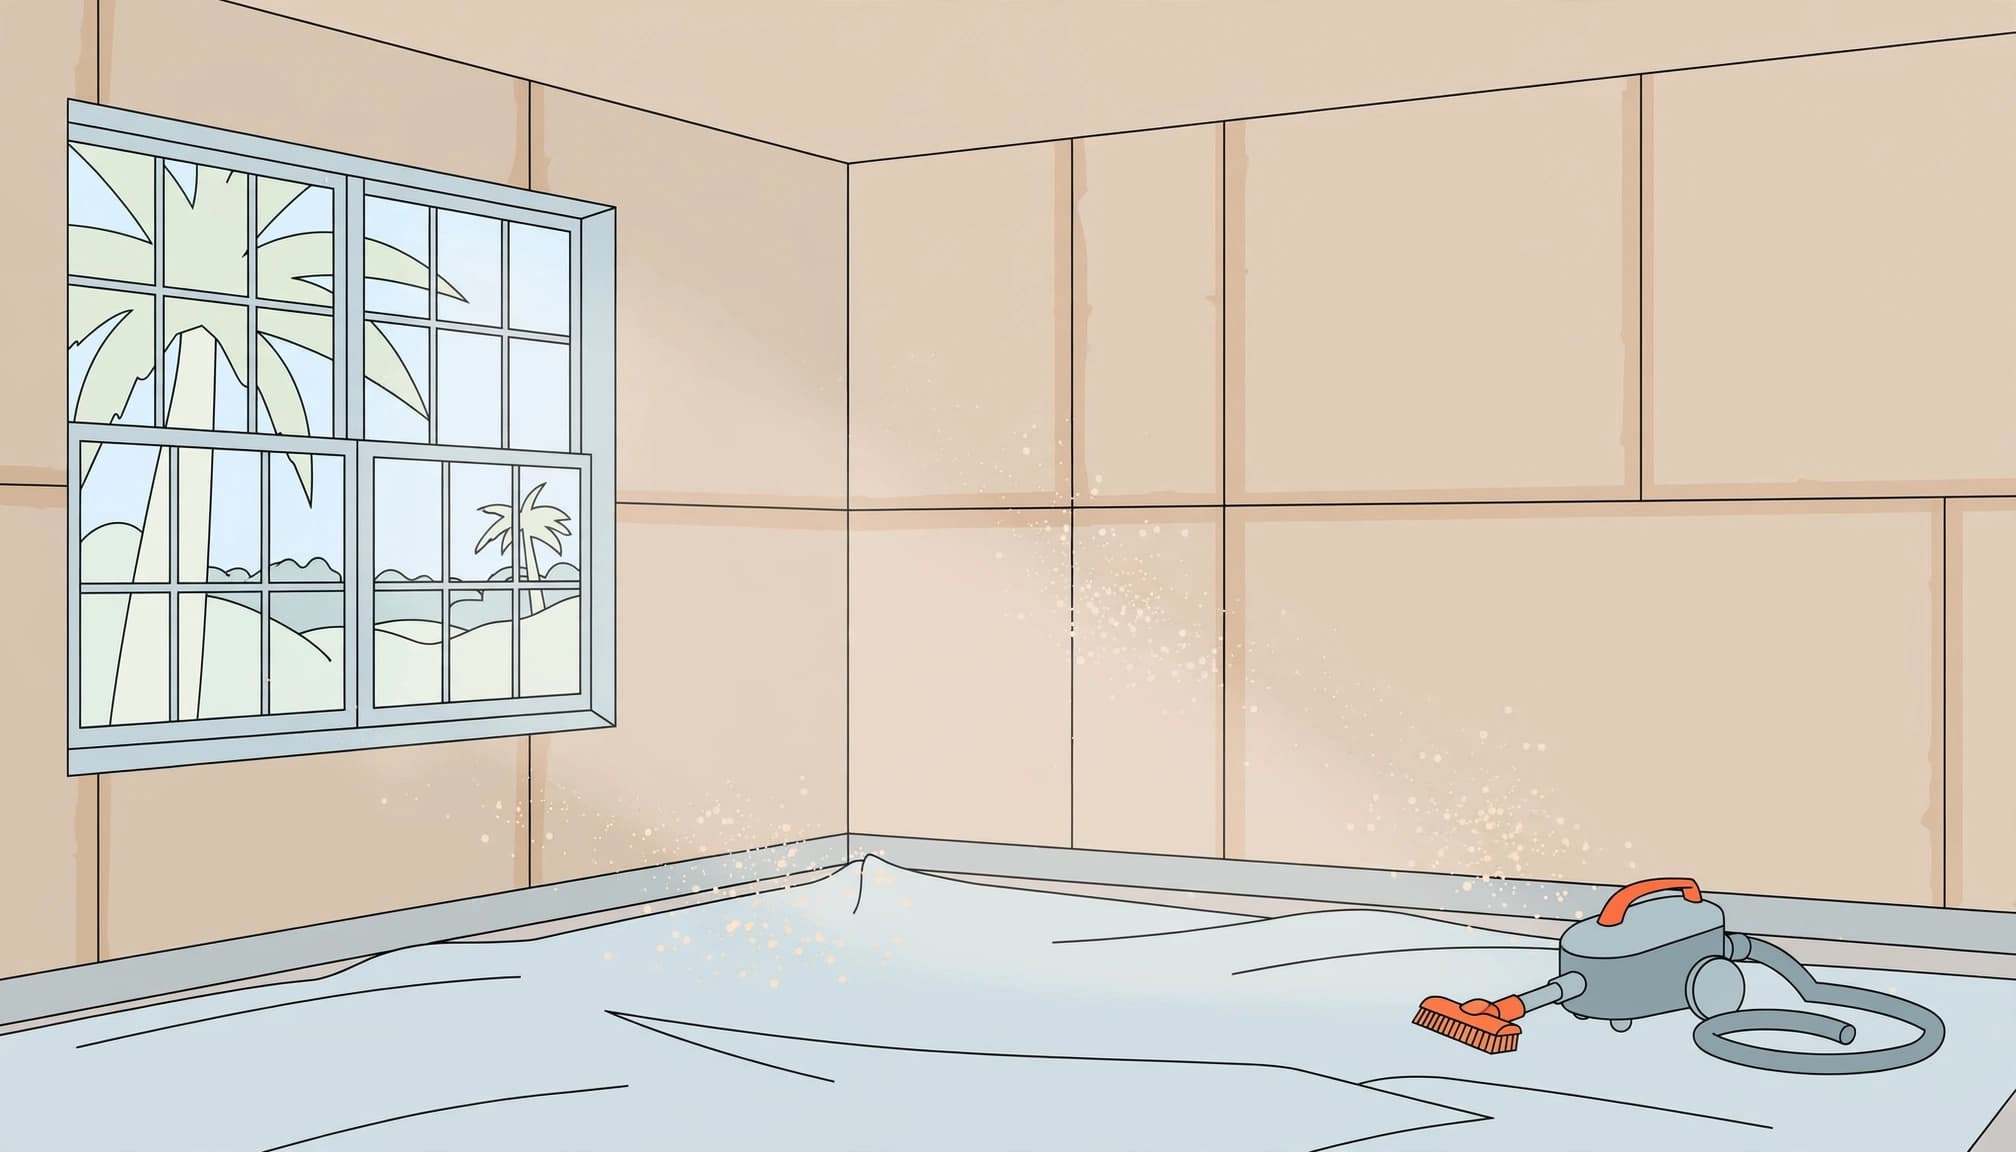
Don’t begin the final wipe immediately after the work. Let visible airborne particles settle first, because those still circulating can land on freshly cleaned surfaces. There’s no reliable universal waiting period; the amount of work, ventilation, and dust collection affect it.
Keep children, pets, and other occupants outside the work zone. During dusty work, isolate the area and protect HVAC openings without running the system against blocked vents.
Avoid compressed air and aggressive sweeping. Both send settled residue back into the room. A vacuum-connected sander reduces particles during additional sanding, but cleanup is still necessary afterward.
3. Remove Loose Dust Dry, Working Top to Bottom
We recommend dry removal first because water turns loose drywall powder into a paste. The paste spreads easily and can remain in corners or across the wall surface.
Vacuum Walls, Ceilings, and Trim Details
Use a HEPA-equipped construction dust extractor or vacuum designed for fine drywall dust. Fit the appropriate fine-particle bag and filters; an ordinary household vacuum may release particles through its exhaust.
A soft brush attachment works well on sound drywall surfaces and trim. Use light pressure so the attachment doesn’t scuff the paper facing or damage corners. For small areas, a clean, dry microfiber cloth can collect remaining powder.
Vacuum walls and ceilings first, then clean window trim, door casings, baseboards, and floors. Include closet shelves and fixture ledges. Turn off power before cleaning electrical fixtures, and don’t spray liquid into them.
Finish dry vacuuming before damp wiping. The EPA’s painting and home-maintenance field guide recommends HEPA vacuuming at job completion to capture fine particles.
Clean Floors and Accessible HVAC Components
Vacuum hard floors before damp cleaning them. For hardwood and laminate, use minimal moisture rather than a wet mop. Vacuum carpet slowly, including edges where powder collects.
Clean accessible supply and return grilles, then replace an HVAC filter loaded with residue with the correct type for the system. Don’t reach into equipment or disturb duct insulation.
Visible contamination inside ducts or equipment deserves an HVAC professional’s assessment. Residue on a grille alone doesn’t establish that the entire duct system needs cleaning.
4. Lightly Damp-Wipe Without Soaking the Walls
After dry removal, use a clean microfiber cloth or soft sponge dampened with plain water. Wring it thoroughly until it doesn’t drip.
For damp wiping, work gently in manageable areas and rinse the cloth frequently. It should collect residual powder without leaving running water or saturated patches. Avoid scrubbing, since friction can roughen drywall paper or soften joint compound.
Keep changing the rinse water rather than spreading cloudy residue onto the next wall. Also, avoid oily tack cloths, fragranced cleaners, and products that leave a film beneath the first coat.
Let the surface dry completely afterward. Then pass a clean, dry, dark-colored cloth lightly across a small section. If it picks up obvious white powder, repeat the gentle cleanup.
The first coat needs contact with the wall surface. A layer of loose powder leaves the coating attached to dust instead.
5. Inspect and Repair Before Applying Primer
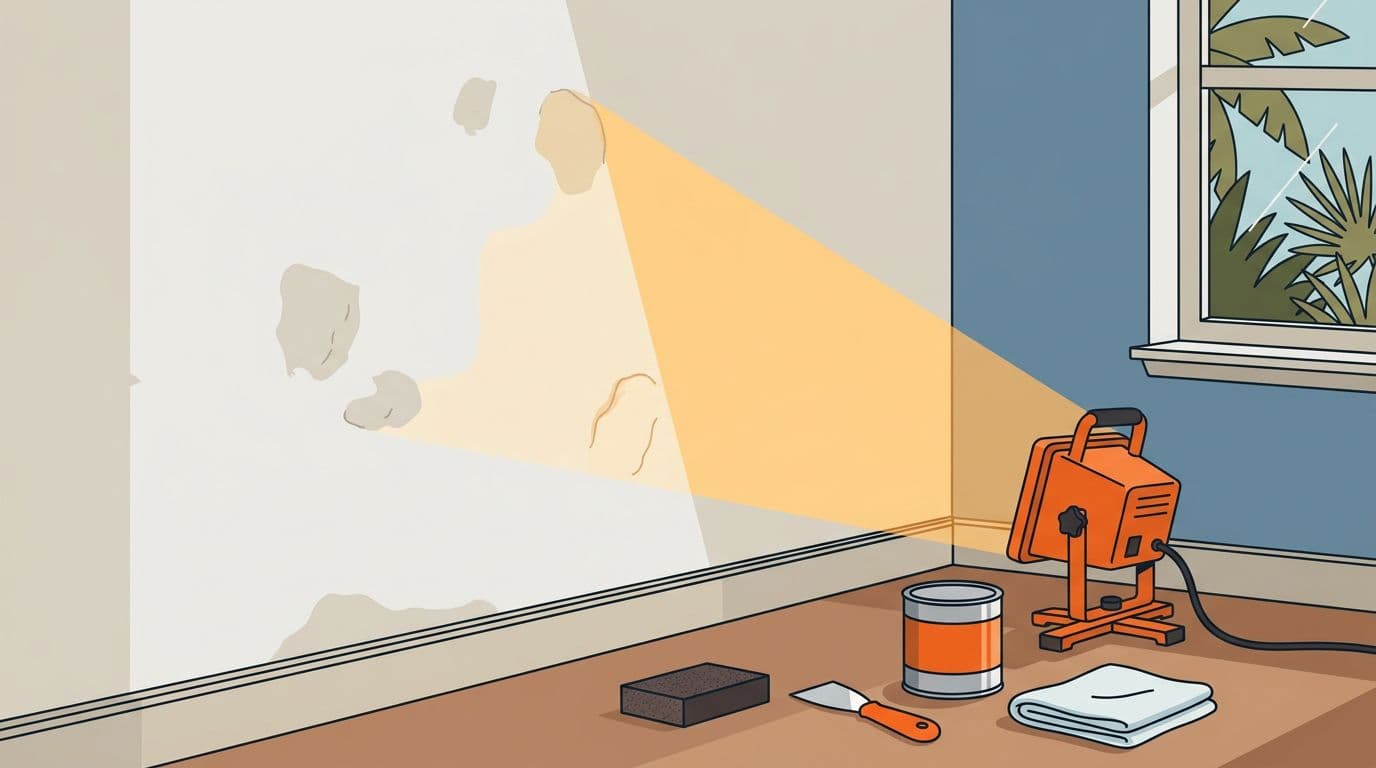
Cleanup reveals defects that dust can hide. We recommend inspecting the entire wall under strong side lighting before starting the first coat.
Look for Marks, Ridges, and Visible Patches
Hold a portable work light at an angle across the wall. Look for visible scratches, raised seams, pinholes, fastener depressions, torn paper, and patch edges.
Pay extra attention near large windows and long hallways. Side lighting makes shallow ridges and uneven textures easier to see. Higher-sheen paint also reveals defects more readily than flat finishes.
The first coat may expose additional flaws, so allow time for touch-up repairs before the paint finish.
Match the Repair to the Defect
For a small drywall repair, spot-fill the depression and let the compound dry. Use spot sanding with a fine abrasive sponge or 180- to 220-grit abrasive to smooth raised edges without scuffing the surrounding paper.
A broader drywall repair may need skim coating rather than repeated spot repairs. Torn paper needs a suitable problem-surface sealer before patching, since water-based materials can raise exposed fibers.
After every repair, repeat dust removal. If the wall receives texture, let that material dry and remove loose residue before priming.
6. Prime Bare Drywall Before Interior Paint
New drywall paper and joint compound absorb coatings differently. Primer helps equalize that absorption so seams and repairs don’t show through as dull or shiny areas, often called flashing.
For clean, bare drywall, a dedicated PVA sealer is a common choice. PVA products suit many standard interior applications.
However, product selection changes with the surface. Water stains may need a stain-blocking first coat after the leak is repaired. Torn paper, smoke residue, and other problem surfaces need products designed for those conditions.
Apply the first coat evenly, following the product’s coverage and drying instructions. Then inspect the wall again. Spot-seal any new repairs before applying finish coats.
For paint adhesion on fresh gypsum board, don’t assume a product labeled “paint and primer” replaces the dedicated first coat. Follow the coating system’s requirements for bare gypsum board.
Skipping cleanup can cause poor adhesion, rough texture, uneven sheen, and early coating failure. It can also leave visible powder on ceilings and trim. A dedicated first coat doesn’t replace cleaning, and finish paint doesn’t replace surface repairs.
When Professional Help Can Prevent Rework
Professional preparation is useful when several rooms need cleanup, ceilings have been replaced, or heavy sanding has spread fine residue throughout the home. Large skim-coating areas and damaged drywall paper also require more skill than a small nail-hole repair.
For occupied rentals, coordinate access and dust containment with the owner or property manager. Renters should report stains and leaks promptly rather than painting over them.
On a new home, keep a room-by-room punch list with photographs and wall locations. Finalize fixture and outlet changes before finishing whenever possible. Moving connections after drywall can add repairs, repainting, and additional inspections.
If you’re planning new construction, discuss your Florida home-building project with our team so finish selections and construction stages fit the overall plan.
Frequently Asked Questions
Is Breathing Drywall Dust Harmful?
Yes. Sanding dust can irritate your eyes, nose, throat, and respiratory tract. Some joint compounds contain crystalline silica, so the product’s safety information matters. Use dust collection and a properly fitted, NIOSH-approved particulate respirator suited to the material and task. A loose face covering isn’t reliable dust protection.
Can Paint Go Directly Over New Drywall?
We recommend priming bare drywall first. Direct painting can leave inconsistent absorption and visible joint-compound patches. Even a clean wall needs the appropriate coating system; dust-free preparation alone doesn’t eliminate the need for that first coat.
Does Older Drywall Require Different Precautions?
Work that disturbs older painted surfaces may involve lead-based paint. Homes built before 1978 need particular care. The EPA’s lead-safe renovation training manual covers containment and specialized cleanup. Routine drywall cleanup doesn’t replace lead-safe procedures.
Build the Finish on Proper Preparation
The right order after drywall is repair, drying, cleaning, surface preparation, primer, then paint. In Florida, dependable humidity control supports that process.
We recommend making surface readiness the priority before scheduling finish coats. A clean, dry, properly primed wall gives your paint a sound foundation and reduces avoidable touch-ups later.