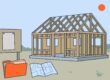
A rough-in inspection reviews wiring, boxes, and related work before insulation or drywall hides them. Treat it as a construction checkpoint, because corrections are easier while the walls remain open.
For homebuyers, this stage is also a chance to review outlet locations and planned equipment connections. Inspection procedures can vary by jurisdiction, including in Broward County, so confirm the process with your local building department. Understanding the sequence helps you distinguish required approvals from your own pre-drywall review.
Key Takeaways
- Permitted electrical projects typically involve rough-in and final inspections, with a separate service inspection when required.
- Rough-in approval covers visible installation at that stage, not the finished operation of every electrical component.
- Keep permit records, inspection results, photographs, and correction reports together throughout construction.
Start With the Permit and Electrical Plan
Electrical work begins with the approved scope, not with pulling cable. The contractor submits the required application and supporting documents, obtains the permit, and coordinates the inspection stages tied to that work.
Florida Statutes section 489.537 authorizes local regulation through permits, fees, and inspections. However, Florida doesn’t have one inspection count or sequence for every home. In Broward County, confirm the permit and inspection sequence with the local building department, since the design, construction method, and inspection provider determine the required tickets.
The Florida Building Commission lists December 31, 2023, as the effective date of the 8th Edition (2023) Florida Building Code. Its electrical framework references NFPA 70, the 2020 National Electrical Code.
We recommend settling electrical selections before installation. Appliance specifications, ceiling fans, kitchen islands, and planned vehicle charging can affect circuits and connection locations. Changes after drywall may require wall repairs, repainting, and additional inspections.
Keep approved plans and signed changes available so the installed work can be compared with the agreed layout.
Florida Electrical Rough-In Inspection Stages
Permitted residential electrical work typically involves two to three stages: rough-in, service when required, and final. Additional underground or other inspections can apply.
1. Rough-In Before Concealment
After framing allows installation, electricians route cables, install boxes, and establish planned circuits. The inspector reviews this work before finishes conceal it.
Some underground electrical work needs an earlier inspection before burial or concrete placement. Meanwhile, the main wall rough-in usually occurs before insulation and drywall. A passed inspection authorizes progress for that scope; it doesn’t mean the entire electrical system is complete.
2. Service Equipment Review
A separate service inspection may address the meter enclosure, service conductors, disconnecting equipment, and grounding connections. Its timing depends on the project and utility coordination.
Service approval and utility energization are separate steps. Therefore, an approved installation doesn’t automatically mean the utility has completed its connections or activated the customer account.
3. Final Electrical Inspection
After electricians install devices, fixtures, covers, and equipment connections, the final inspection evaluates completed work. Panel labeling, required protection, and operation receive attention at this stage.
For a new home, electrical final approval forms part of the broader closeout process. Other trade approvals and required records also affect occupancy. We recommend retaining the final electrical result alongside the home’s other approval documents.
What Inspectors Check Before Walls Close
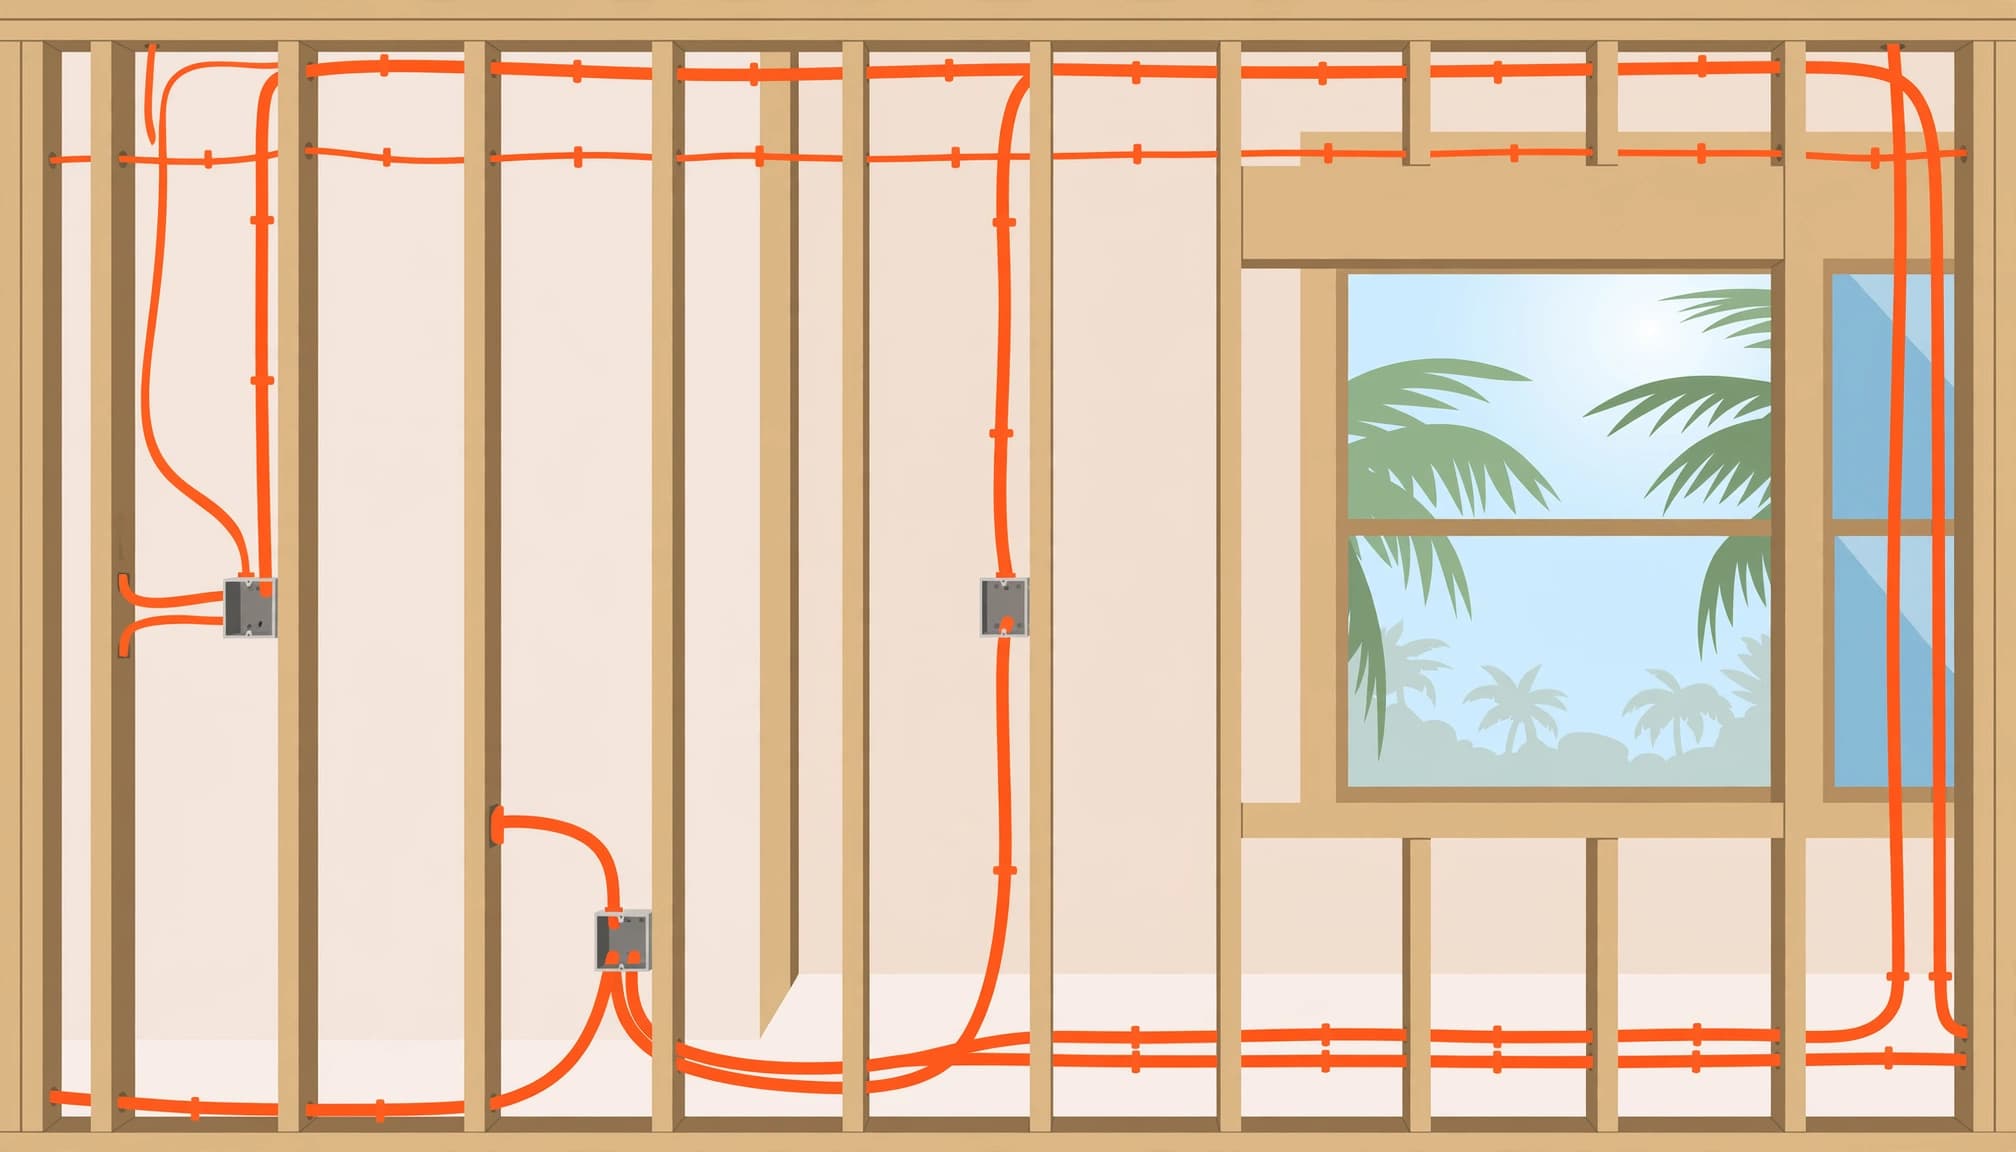
A Florida electrical rough-in inspection focuses on installation details that become difficult to evaluate after concealment. Inspectors compare the work with approved plans and applicable code requirements.
Wiring Routes, Protection, and Boxes
Inspectors review cable routing, fastening, support, and protection against physical damage. Wiring near framing surfaces may need protective nail plates so later screws or nails don’t reach it.
They also check for damaged cable, proper conductor sizing, box placement, and enough space inside boxes. Overfilled boxes and splices outside approved enclosures should be corrected before wall finishes begin.
Relevant NEC provisions include 300.4 for physical protection, 314.16 for box fill, and 334.30 for supporting nonmetallic-sheathed cable. Each covers a different installation detail, not a general appearance standard.
Circuits, Grounding, and Planned Equipment
Inspectors review grounding and bonding, applicable connections, and circuits for planned equipment. They also check provisions for required ground-fault circuit-interrupter (GFCI) and arc-fault circuit-interrupter (AFCI) protection.
These protections serve different purposes. GFCI protection reduces shock risk, while AFCI protection addresses certain electrical arcing hazards.
At rough-in, many devices aren’t installed or energized yet. Inspectors focus on planning and visible installation; operational testing happens later. Panel condition, circuit identification, service equipment, and the meter base are reviewed at the applicable inspection stage.
Prepare for Rough-In and Final Inspection
Prepare for the actual inspection stage. A rough-in visit requires exposed work, while final inspection requires completed installation and appropriate testing.
- Confirm that the permit has been issued, and keep the permit number, approved plans, and previous inspection results available.
- Arrange a pre-inspection walkthrough with the builder before concealment. Check outlet, switch, light, ceiling-fan, and appliance connection locations against your selections.
- Keep inspected work accessible. Remove stored materials and maintain about 3 feet of clear depth and at least 30 inches of width at the panel, or the equipment width if greater.
- Before final inspection, press the test and reset buttons on completed, energized GFCI outlets. Follow the manufacturer’s test/reset procedure for AFCI devices, and have a licensed electrician address any failed test.
- Keep receipts and correction records with the project file. Photograph open walls by room and wall location before finishes cover them.
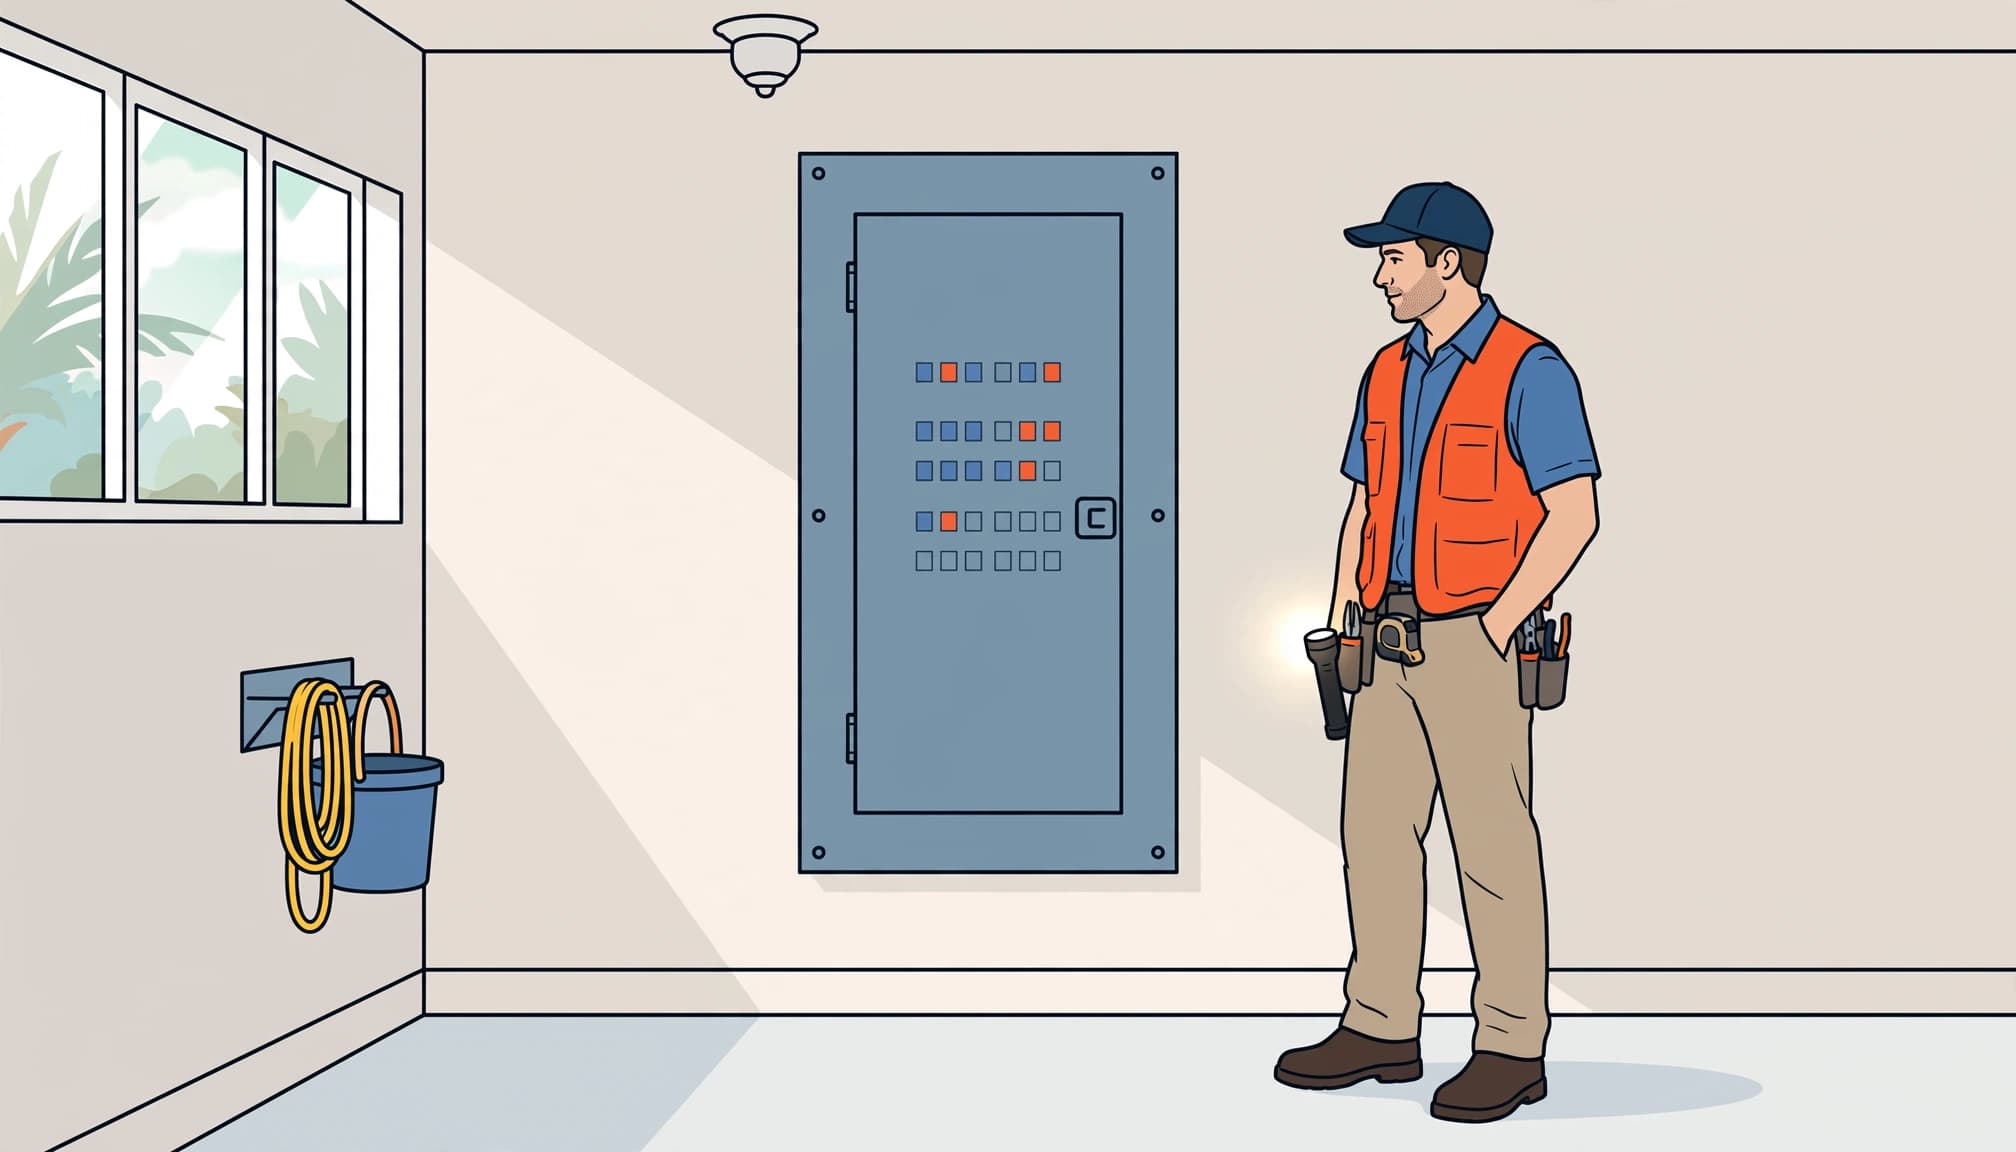
Don’t remove panel covers, handle exposed wiring, or attempt amateur wiring. Leave electrical work to a qualified professional. A licensed electrician should investigate defects and complete electrical corrections.
For buyers, arrange independent inspection access in the construction contract. Coordinate entry with the builder because active construction areas present hazards.
A final walkthrough can’t recreate the view available before drywall. Photographs help preserve that record, but they don’t replace inspection access.
Common Corrections, Costs, and Scheduling
Recurring failure causes include double-tapped breakers, missing required GFCI protection, and improper grounding or bonding. These problems affect connection reliability, shock protection, or fault-current paths.
A double-tapped breaker has two conductors connected at one terminal. It needs correction when that terminal isn’t listed for both conductors; two wires alone don’t establish a violation.
For rough-in, missing cable protection, unsupported wiring, and box-fill problems can also delay approval.
Use these broad repair windows for planning, not as promised completion dates.
| Repair Scope | Typical Work Window | Main Cost Drivers |
|---|---|---|
| Minor corrections | Same day to a few days | Service-call labor, labels, supports, or protective plates |
| Moderate repairs | 1 to 3 days | Circuit changes, device replacements, or grounding corrections |
| Major upgrades | Several days to weeks | Panel upgrade, extensive rewiring, permits, and utility coordination |
Repair costs depend on scope, access, materials, and labor. A panel upgrade may take longer when access is limited.
There isn’t a single statewide price for repair costs. Reinspection charges and scheduling can add time beyond the repair itself.
A comprehensive residential electrical inspection commonly takes one to two hours. A municipal visit covering one construction stage may be shorter.
After a failed inspection, obtain the written deficiency report. The responsible trade should complete corrections and obtain the required follow-up approval before concealing affected work.
Buyer Reviews and Insurance Inspections Differ
These inspections answer different questions. Keeping their purposes separate helps you understand what each approval or report provides.
Required Approval Versus a Buyer-Focused Review
Required permit inspections evaluate applicable code compliance and approved plans. An independent pre-drywall electrical safety inspection adds a buyer-focused review of visible workmanship and installation. It may also identify signs of amateur wiring.
We recommend using that opportunity to compare the home with your contract and selections. Record each concern by room, wall, photograph, and requested correction.
A passed municipal inspection doesn’t establish that every purchased feature or change order is complete. An independent inspector doesn’t replace required permit approvals.
Four-Point Inspections for Older Homes
A 4-point inspection addresses the electrical system, plumbing, HVAC, and roof. The Citizens 4-point inspection form documents these systems for insurance purposes.
An insurer may request this inspection for homes around 30 years old, although some request it for younger properties. That age isn’t a universal statewide trigger. Ask your insurer what documentation it requires for repairs or remediation.
Knob-and-tube wiring and older aluminum wiring draw additional scrutiny. Depending on the condition and underwriting requirements, an insurer may require replacement of aluminum wiring, approved connections, or documentation of appropriate remediation. If knob-and-tube wiring remains, document its condition and any remediation.
Electrical Inspection Questions Homebuyers Ask
Is a Residential Electrical Inspection Always a 12-Point Review?
No statewide Florida standard establishes a universal 12-point residential electrical safety inspection. A company may organize its service into 12 points, but that doesn’t define the required permit inspection.
For a Florida electrical rough-in, the relevant scope follows the permitted work and applicable requirements. We recommend judging a report by its documented findings and coverage, rather than the number of checklist headings.
Does Passing Rough-In Mean the Home Is Ready for Occupancy?
Rough-in approval covers that construction stage. Electricians still need to complete fixtures, devices, connections, testing, and applicable final inspections.
New construction also needs its broader closeout approvals before occupancy. We recommend keeping those records separate from the buyer’s punch list because they address different obligations.
For existing homes, we recommend an electrical review every few years, with earlier attention after renovations, hurricane damage, or flooding. A licensed electrician should assess suspected damage before affected equipment returns to service.
Keep Hidden Work Visible Until Approval
A successful rough-in leaves wiring accessible for inspection and records any corrections before walls close. The strongest protection for buyers is documented approval, supported by clear plans and a timely independent review.
Keep inspection results with your construction records. That file helps distinguish completed work from unresolved items as the home approaches closing.
If you’re planning a home in Lee, Charlotte, or Highlands County, discuss your construction plans with our team.